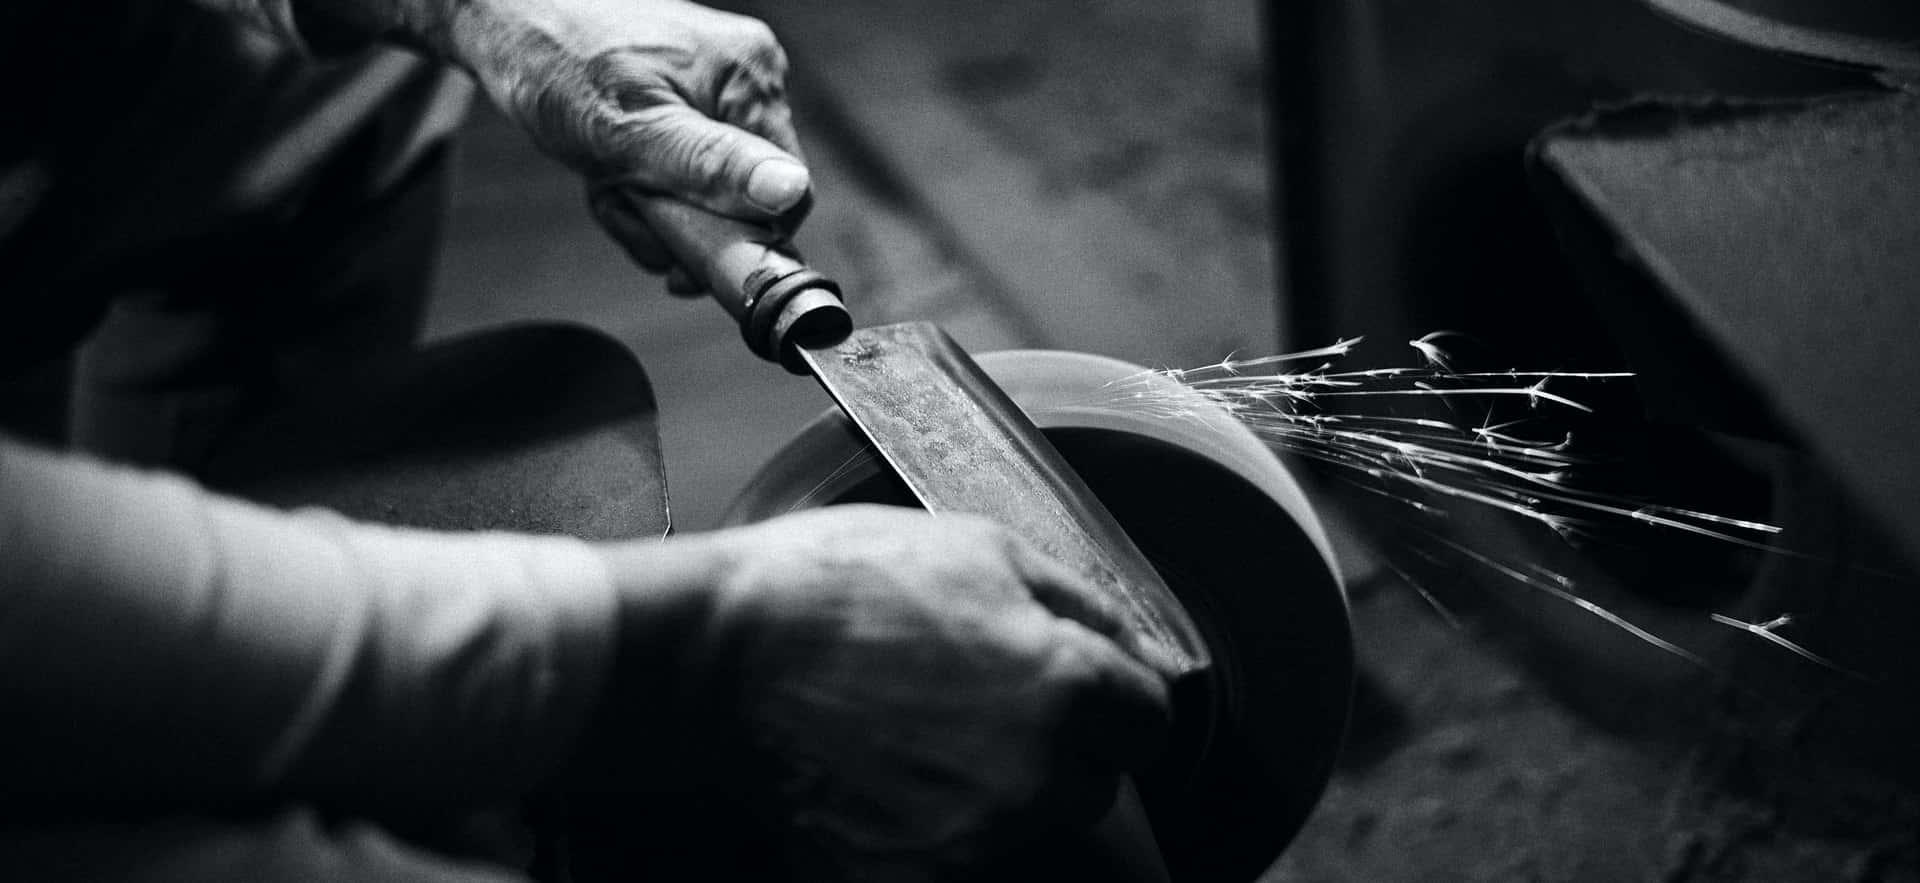
15 Knifemaking Tools (and Steel) for Beginners
Knife making is a creative and enjoyable hobby. It is also a great way to make affordable knives, while still being high-quality. Tools for beginners are available in many different places, so it should not be hard to find the right set for you.
They can be broken down into two categories: general knifemaking tools and specific knifemaker starter kit. General knifemaking tools are used to create the blade from scratch, whereas specific knifemaker starter kits come with everything you need to make your first knife.
The type of tool you use for making a knife depends on the type of steel and the desired design. For example, if you want to make a forged knife with an American pattern, you need a forge, an anvil and heavy hammers. Different types of tools are used for different kinds of knives.
Before we proceed to knifemaking tools, we need to explain a few things about the material you will use. You should pay attention to many things while choosing knifemaking steel, especially if you are just about to start and make your first knife.
Knifemaking Steel
There are several types of steel used by knifemakers. You need to know at least some basic information about those that are mainly used. You will choose different steel types depending on how you make knives: by stock removal or forging.
Every steel needs to be heat-treated. You probably don’t have a heating oven yet, so for starters, choose something simple, easy to heat-treat and work with. Common steel used for knife making is tools steel, stainless steel, and carbon steel. You can find a lot of steel comparisons online that can help you decide. Below are the most common steels found in knife blades.
- O1 Steel – great for beginners, easy to work with, very tough, oil quenched, wear-resistant and holds an edge very well; care needed to prevent rust;
- 1084 – also great for beginners, suitable for imprecise heat-treating; it can be bought everywhere; doesn’t need to be soaked for too long;
- 1075 – same as above; very affordable, a great choice for beginner makers, since it can be heat treated with a blow torch (temperature for heat treatment is not very high, around 830 degrees);
- 1095 – a high percentage of carbon (95%); mostly used for knife making through forging;
- Stainless steel – more expensive, the blade won’t rust, so no maintenance is needed; you’ll probably need someone to heat-treat it for you; easy sharpen.
Essential Tools for Knifemakers
If you are just about to start and you’re looking at knife making as just a hobby, don’t invest too much in tools. Buy essential and cheap tools just to get you started. Simple projects need simple tools. Let’s assume you want to make a knife by stock removal. This means you don’t need all that gear for working with fire, anvils, big hammers and oil. Check this list to learn more about top knifemaking tools.
Tool #1: File
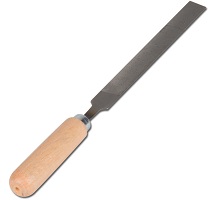
Good old-fashion file. The best friend of many metalsmiths. You can do amazing things with this simple tool (except drilling a hole, of course). Files are cheap and one of the first tools you’ll need to get. Grinding, finishing, smoothing – it all can be done with files that come in different grit sizes and different shapes. A lot of guys made their first blades out of an old file. Files cost less than $10 and you can buy them at every metal store. Although they require manual, work and there are a lot of power tools that can replace them and get the job done faster, you’ll definitely need to have a set of files in your garage.
Tool #2: Hammer
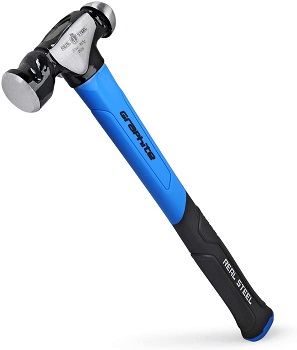
After metal file, hammer takes second place as another simple yet essential tool for making knives. This is a basic tool for all blacksmiths, DIY and seasonal pros. Choosing the right hammer will depend on your current project, but considering the bargain price for many models, you can buy two or three and cover all your needs. There are a few options to consider regarding hammer style, shape and weight. There are French hammers, Japanese hammers, ball peen, straight peen, rounding and many other hammer types. Beginner knifemakers should focus on the ergonomics of the handle and peen since the peen shape affects the shape of the forging piece.
Tool #3: Clamps
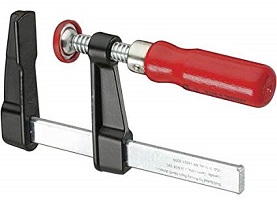
You’ll need something to hold the knife while you are working. Buy several pairs of clamps since you’ll need them in many situations. They are not expensive, so try to buy different types if possible. Start with welders and c-clamps, and then move on to pipe clams, bar clamps, one-handed clamps, etc. You can buy them online at Home Depot starting at $10 depending on type.
Tool #4 : Tongs
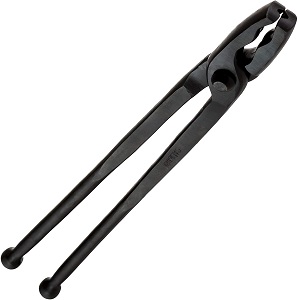
Another crucial tools you need to forge knife metal are tongs. If you want to hold a heated piece of metal firmly, invest in good knifemaking tongs. How to choose one? It all depends on what type of knife you want to make, but always start with skill level. If you are just about to dive into knifemaking, choose a versatile and affordable tong that is not too heavy. The length of the rains is also important. They come from 12” to 36”, and if you want more leverage, choose a model with rains above 18”, yet it all depends on your project.
Along with reins length, you should think about jaws. Popular types in knife making community are z-jaw tong, box jaw tongs, v-bit, wolf jaw, duck bill, bent knee tongs, off-center side jaws, spreading tongs, and scrolling tongs. There is no one solution for every project, and as you raise the skill bar, you will definitely need to invest in three, even more types of tongs. Like other tools on our list, tongs need maintenance, so keep them away from water and humidity. Prevent dust accumulation by cleaning them with a dry cloth and always allow them to cool down before you put them away.
Tool #5: The Hacksaw
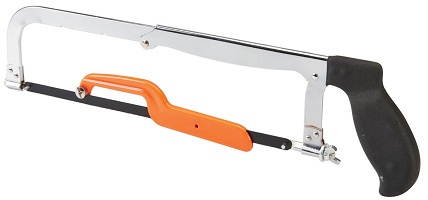
The hacksaw with a high-quality blade is also an important tool, especially in the process of cutting and shaping steel. Knifemaking process always starts with the hacksaw. Power tools can get the job done faster, but you can’t use them in tight corners. Order a hacksaw at Amazon starting at $20 and make sure to order spare blades kit as well.
Tool #6: The Bench Vise
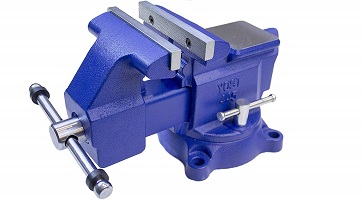
Everyone dealing with metal needs at least one bench vise. There are a lot of options when choosing a bench vise, but you can easily start with the one with a 360-degree swivel base adjustment, which enables you to change the orientation of your work. A quality bench vise can be found for $100, but if you think that is too much, you can buy a used one. Generally, all-around bench vise size is 5 inches, but you can go even with a bigger one.
Speaking of a bench vise, we need to mention soft jaw caps or inserts that are designed to protect your knife. They are usually made of leather, rubber, copper, plastic, aluminum and can be found on eBay for around $20.
Tool #7: Drill
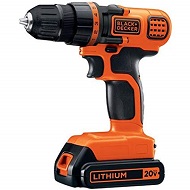
A drill press is a much more convenient and better option, while hand drill with some bits for drilling steel is quite good for a beginner knife maker. Maybe you can consider buying a used drill press with a drill vise. It will improve your precision and save you some time. A hand drill can cost you around $30. A 10-inch drill press at Sears costs around $121. A set of Cobalt drill bits will cost you around $30 on eBay. A 4-inch drill press vise costs $17 and will get the job done just fine.
Tool #8: Anvil
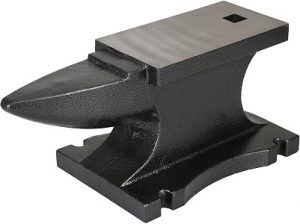
If you are forging a knife blade, an anvil is a must. If you are still a beginner and knife making is just a hobby, don’t invest too much money or buy a large anvil. Pay attention to shape, weight, material and size. Large models are easier to use but apply the general rule here – choose an anvil shape that will satisfy application needs today and in the future. Anvil consists of face, horn, table, hardie hole and pritchel hole. Cast iron is a good starting option since the anvil is heavy enough to stay put but, on the other hand, light enough to move it around. Buying a used one is also an option, but new ones are not expensive as they used to be a decade ago.
MORE ARTICLES FOR KNIFEMAKERS:
Tool #9: Sharpening Stone

Sharpening is the last step in knifemaking process. There are countless options to choose from when buying a sharpening stone. The price range starts at $20 and goes all the way to $200, sometimes even more. A lot of brands, stone shapes, grit textures, stone sizes can be found on the market, and the price depends on the stone material. Knife makers mostly use diamond sharpening stones, but you can try ceramic stones, water stones, Arkansas stone, or whatever you find suitable
Tool #10: Safety Gear

Always use safety gear when cutting metal, grinding and heat-treating steel: safety glasses, dust masks or respirators, and gloves. Safety equipment can prevent serious injuries and protect your eyes, lungs and hands from heated metal hazard dust particles. Glasses and gloves are quite cheap, and a respirator is always a better solution than a dust mask. You can get high-quality 3M Respirator at Home Depot for $100.
For knifemakers who make knives by forging steel, a fire extinguisher is required. A 5lb rechargeable fire extinguisher will cost you under $50. It is a small investment that could save your working space from catching fire.
Tool #11 : Apron
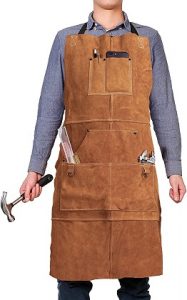
Aprons can be listed under safety equipment like gloves, but they are more than that. Good apron will safeguard your body from burns, cuts and stains. They were used by blacksmiths and other ancient professions back in 1500 BC. Knifemakers should pay attention to the apron strap system (x or y-strap system), leather type apron is made of, thickness, ergonomics like pockets, straps, quick release snap, removable straps and finally, size. Many models are available on the market, and the price mostly depends on the material (type of leather). Some brands cover hands as well. Do thorough online research, read reviews and forum posts to find the one that can serve its purpose for several years.
Tool #12: Gloves
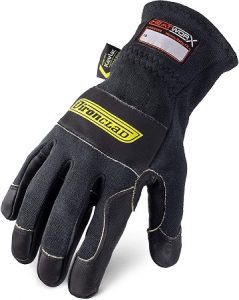
We want to dedicate special attention to gloves. Many will say there is nothing special about it, but they are wrong. Gloves not just protect your hands from heated metal and prevent burns but also determine how precise and accurate you can manipulate the knife blade on a belt sander. Mobility and a good range of motion are extremely important. Knifemakers can use many welding gloves, but these are the main feature to consider when choosing gloves. Mainly, they are made of leather or Kevlar. Kevlar is a heat-resistant material and probably the best option if you use a furnace. Size and length also play an important role. If you use a large heat-treating oven, buy longer gloves with padding, that will cover a greater area of your arms. Always buy the right size, gloves bigger than your hand can easily slip and lead to burns.
Tool #13: Dremel or Another Rotary Tool
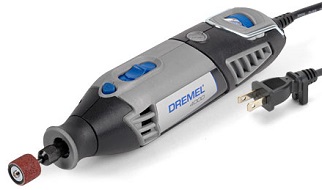
Dremel is not an essential rotary tool but can be useful for cutting material, detail grinding, rust cleaning, jeweling or customizing with mounted abrasive cones, small rubber or cut-off wheels, points and bits. Dremel 400, is the first choice for many knifemakers, and it can be found online for $77. Search eBay to find the best deal. Along with a Dremel tool, you can buy a handpiece or flex shaft attachment, which is a very convenient accessory, since you won’t have to hold the motor unit in your hand.
More Advanced Pieces of Equipment
At one point or another, you will need all the previously mentioned tools. Hobby knifemakers can invest less than $1000 and have a solid foundation. However, if you are somewhere in between, in a transition from a hobby to a full-time knifemaker, you’ll need to invest a lot more. Tools described below are the ones you’ll need to have in your shop or a garage in case you are striving to become a master knife maker.
Tool #14: Belt Grinder
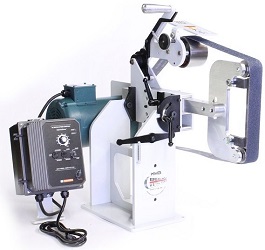
We are not talking about small bench belt grinders here, but 2″ x 72″ industrial knife belt senders made for professionals. Buying a smaller 1″ x 42″(belt dimensions) belt grinder shouldn’t be an option here. If this tool is too much of an expense for you at the moment, then hold off on buying it. Don’t waste money on a grinder that’s not capable of getting the job done.
Belt grinder prices can vary a lot depending on many factors: motor power (don’t go below 1HP if you tend to grind tick and long steel bars), motor speed (variable speed control is a fantastic option to have), wheel speed, wheel size (usually 8″, but you can get any dimension you need), body material, accessories, ability to quickly change the belt (a quick-release mechanism), tracking adjustments, etc. All powerful and professional belt grinders have very similar specifications.
An affordable belt grinder for knife making can be found for around $600 plus shipping. High-end models can cost even up to $3,000. Search online to find a used one that’s in a good shape. We recommend the following brands: Grizzly, Bader, Kalamazoo, Coote, KMG, Wilmont and NRT.
Tool #15: Heat-treating Oven
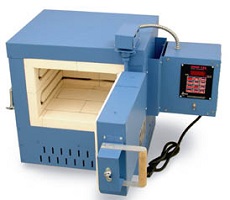
As mentioned before, steel needs to be heat-treated. Heat treating is the most demanding and most important process when making a knife. You can outsource heat treating, as shops that sell steel usually offer heat-treating services as well. However, if you want to be serious in knifemaking, you’ll need to have a heat-treating oven or forge (some call them heat-treating furnaces or kilns).
You can definitely heat a 2-inch stainless steel blade with a torch, but heating a 5-inch or a longer blade at the constant temperature of 1000 degrees can be quite tricky. You can have the right temperature in the center of a blade, while the other blade parts stay cool. Inconsistency in hardness can lead to failure, as blade simply won’t hold the edge. This is just one of the reasons why you need to invest in a heat treat oven.
An extra piece of advice: Share Your Project With Other
Promote your new project and have fun. Ask for opinions and advice. Follow or Like other knife makers. Try to learn something new, something different. “Steal” a few ideas and improve them. Share your knowledge. Ask about new tools. Learn new knife-making techniques. Give valuable info to those who are searching for new handle materials, looking for heat-treating services, or just need help choosing the best steel for their project.
Record videos while working and upload them to YouTube. Be a part of a large knifemakers community. Learn from others and help others to become better knifemakers.

