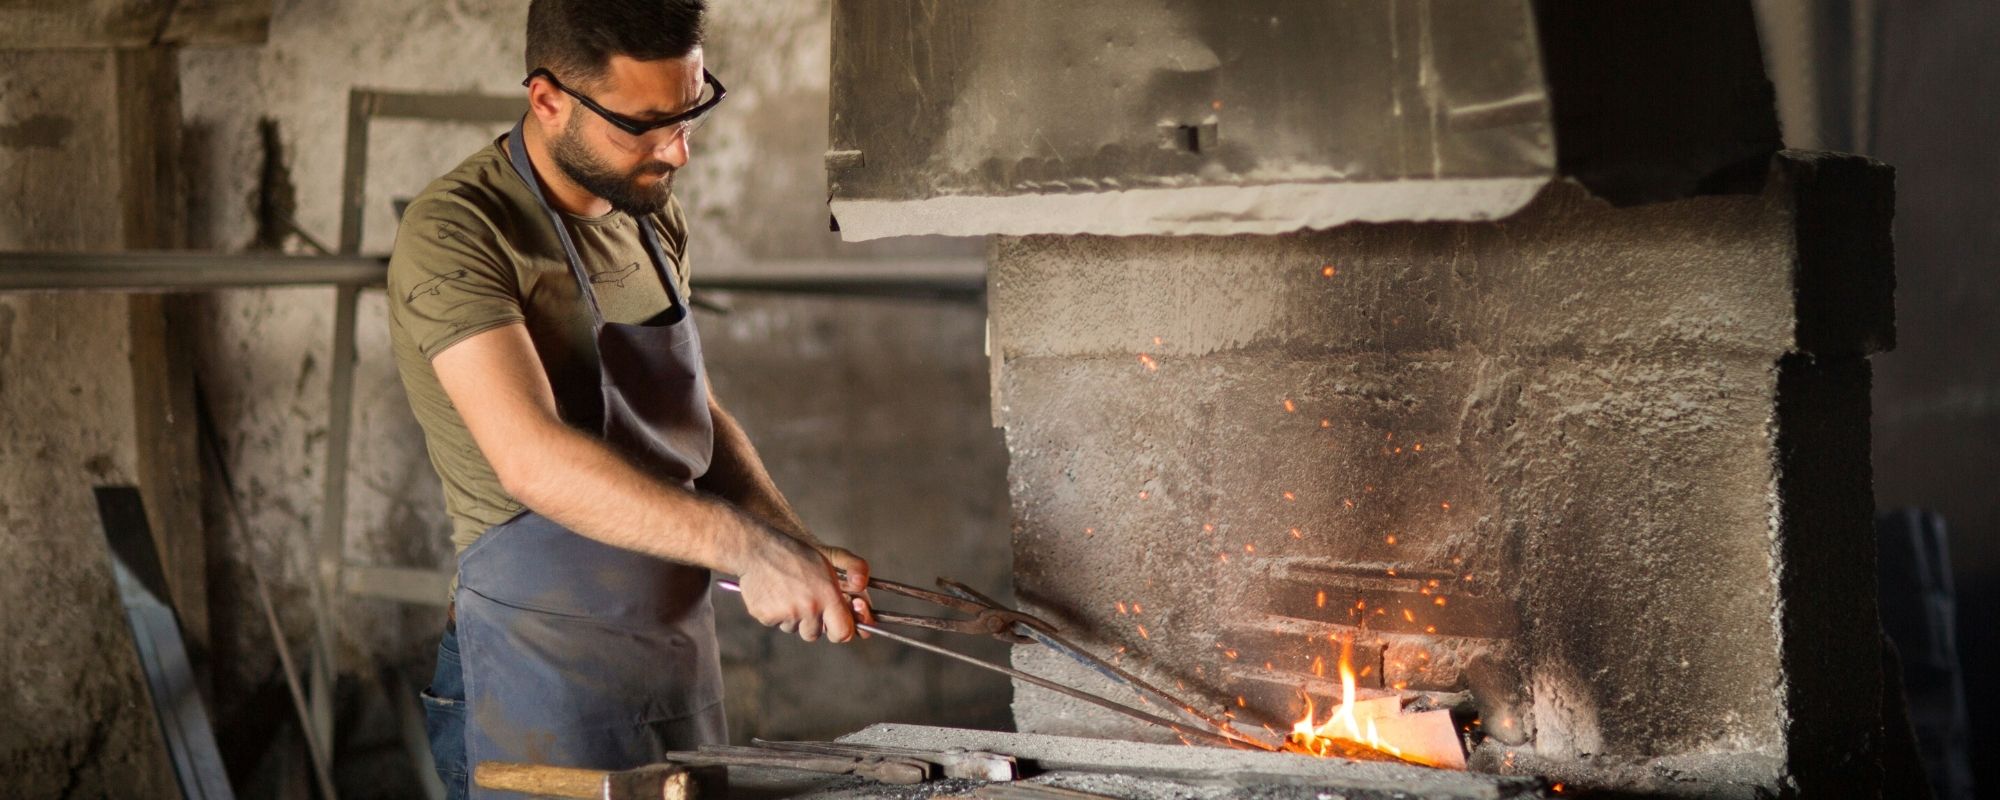
25 Blacksmithing Tools for Beginners to Wake Up Your Creativity
If you have decided to master the art of blacksmithing, all you need is the will to learn and a set of top-notch blacksmithing tools. You can use a wide variety of devices for blacksmithing – from hammers, anvils, and advanced forging tools to essential safety gear any blacksmith should wear during the process.
Blacksmithing and bladesmithing have become popular in recent years, mainly because people have become more interested in forging their own hardware. Those who want to dive into the creative world of blacksmithing may start with forging tools and hammers, which are the fundamentals of the blacksmithing process.
Despite the significant increase in blacksmithing art, every blacksmith workshop is incredibly unique. Customers will still be seduced by handmade ornamental tools, grills, furniture, decorative items, and other things that project a blacksmith’s creativity.
You can practice and perfect blacksmithing with different forging tools you can purchase online or in-store.
Let’s take a closer look at the ultimate blacksmithing tools list and see the 25 must-have solutions to take your practice to the next level.
When starting blacksmithing, you must obtain all the appropriate information as well as the blacksmith tools. There are plenty of tools that are great to have, and some professionals may even tell you they’re imperative.
To do the basics, still, there are only a few of them that you really need. Therefore, we’ve hammered this blacksmithing tools list for the beginners.
1. Forge
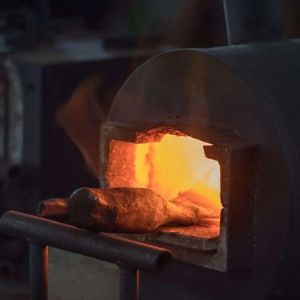
Forge is a primary source of heating metal used in blacksmithing. It’s used by the blacksmith to heat a metal piece to a temperature where it becomes easier to form by forging, or to the point where work hardening no longer happen.
It only requires fuel and heat, and that fuel can either be from propane or coal. Coal once fueled all of the earlier forges, and many still use this method as it gives heat promptly. A forge can now be fueled by propane, which is cleaner and relatively inexpensive.
2. Anvil
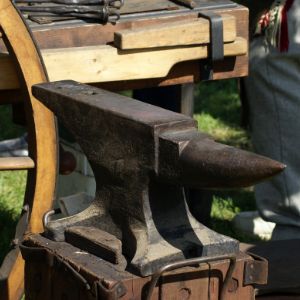
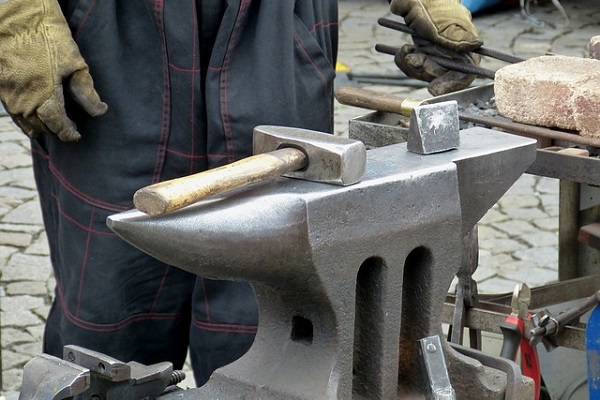
An anvil is a tool used beneath the work that the blacksmith is hitting. It’s made of either cast or forged steel, so that may withhold the impact of the blacksmith’s force. Anvil serves to help the smith by rebounding the blacksmith’s hammer with the same amount of power, which makes the job less strenuous.
It often has two holes: the pritchel utilized for punching through a piece of metal and for stabilization as well as the hardy, which can hold several tools.
3. Hammers
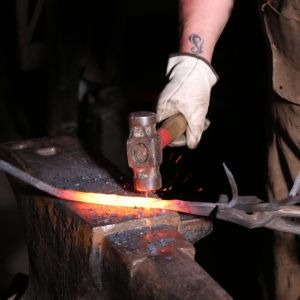
Hammers come in different shapes, weights, and head styles that execute the various techniques of manipulating metal. Each is used to strike the material to control the metal’s movement.
The type of hammer you’ll choose to use depends on how you’re trying to shape the piece of metal and where you’re standing in relation to the anvil. A lot of times, the selection of a hammer simply comes down to comfort. Using the proper one will prevent you from swinging your arm down at the anvil at an uncomfortable angle.
4. Tongs
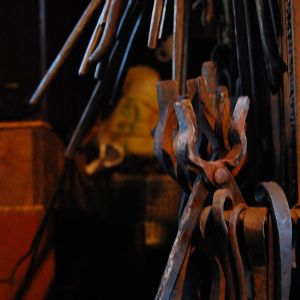
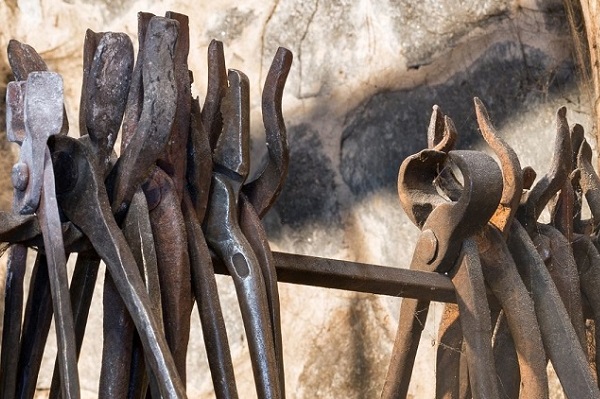
Tongs are beginner blacksmith tools used to pull up and hold hot metal pieces. They’re usually made of wrought steel or iron and have big, flat smooth jowl surfaces that don’t scratch the metal.
Over time, you’ll need various tongs, one or two for each thickness of material that you work with. Having pliers that are the right size for your work makes it much easier to keep a good grip on your material and enhances the quality of the work.
But for newbies, you only need about 1-2 pairs, which you can buy for $20-25 each from a smith supplier.
5. Vises
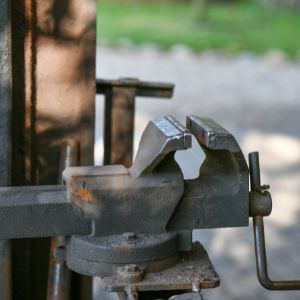
Vice is an incredibly nifty tool, and its utility can’t be understated. There’re two main types of vises, the post vise, and the machinist’s vise.
A post vise is the smith’s vise. It’s made to stand up to the hammering. Machinist vise, especially the smaller one, can be marred from the repeated hammer blows.
The places to look for post vises are estate sales and farm auctions. If you’re not able to get a post vise, you can begin with a machinist’s vise. It’s best to buy a larger clamp that will stand up to the hammering well, and you’ll need to match it with smooth jaws so that it won’t damage the workpieces.
6. Chisels
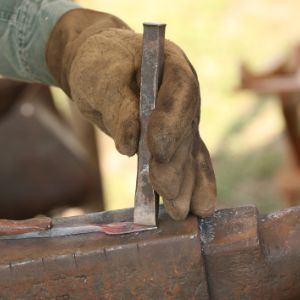
The blacksmith requires chisels for cutting both hot and cold metal. For cutting cold material, chisels are comparatively thick and short, whereas, for hot material, they’re longer and thinner.
They can be of many sizes and shapes. Special ones often being made to facilitate the work in hand. The best chisels are made from steel containing about 0.8 percent of carbon. Leaf springs and motor-vehicle coils are a decent substitute if nothing else is available.
Blacksmiths are often called upon to make chisels for other tradesmen. These have to be tempered and hardened to serve particular purposes.
7. Reamers
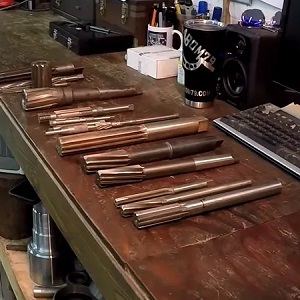
Reamers are rotary tools used to enlarge previously cut holes. They can also be utilized to remove burs caused by a previous cutting. New reamers have multiple highly accurate cutting edges placed radially around the cylindrical body axis.
Homemade reamers in the past were flat forged bars that featured a slight taper at the cutting end to facilitate the begin of the cut. These were often much cruder than their modern counterparts.
8. Sets
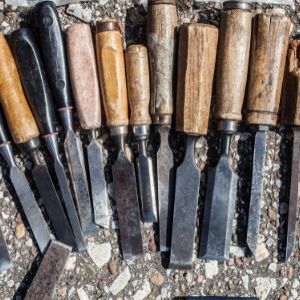
Like chisels sets are utilized for cutting hot and cold metal. Essentially, they’re chisels with handles or shafts. Wooden shafts are easiest to handle, but many smiths employ metal-rod handles. These are more affordable and simpler to make and fit.
Similar to chisels, sets for cold work are tick and short while for the hot metal, they’re thinner and longer. Also, they can be made in a wide range of shapes for various intents.
9. Punches
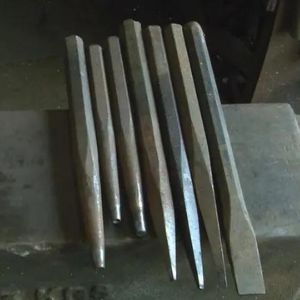
They’re usually designed to remove the minimum amount of the metal from the material and to swell the hole to shape and size.
Punches can be square, round, or almost any other form to do the job. They should be long enough to keep hands away from heat reflection, and large ones can be fitted with shafts.
10. Drifts
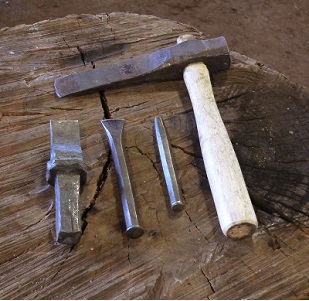
Drifts are like short punches. Made of carbon-tool steel, they’re of exact size and shape. They may be round, hexagonal, octagonal, or almost any other form.
Drifts are usually hammered through the work to finish a hole to shape and size, while the material is only at a dull red heat. A little grease can be used to make the work easier and to provide a better finish.
11. Fullers
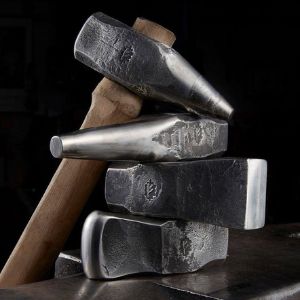
Fullers are made in various sizes and have rounded edges. Small ones may be hand-held while larger sizes need handles or shafts and are struck with a sledgehammer. Fullers are typically made in pairs. The bottom fullers fit into the tool hole of the anvil. They’re utilized for setting down shoulders in preparation for forging tenons and for drawing/moving material in one direction.
MORE FOR BLACKSMITHS
8 Blacksmith Anvils for 2022 (pros & cons)
Blacksmith and Forging Tongs (2022 Update)
Top 8 Blacksmith Aprons (and How to Buy)
12. Flatters and Set Hammers
Flatters have flat faces with rounded or sharp edges according to requirements and are placed on the metal and struck with the sledgehammer. The set hammer is most often applied for setting in shoulders. In contrast, the flatter is a great finishing tool and should be used only to give an elegant finish to flat surfaces.
13. Hardy Tools
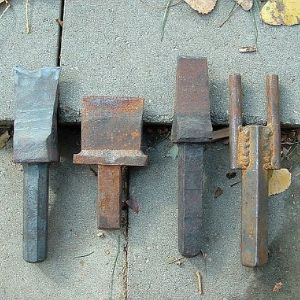
Hardy tools are extremely fruitful, and you’ll find yourself using them all the time for a wide variety of purposes. The most common type of hardy is the cutoff tool. It’s shaped like a wedge with the sharp end facing up.
The sharp edge is a cutting edge. You place the heated metal on this edge, then hammer down on it, and it cuts off the metal. Another type of hardy tool is the bending tool. You can use it to bend metal into a variety of shapes.
14. Bolster Plates and Hand Mandrel
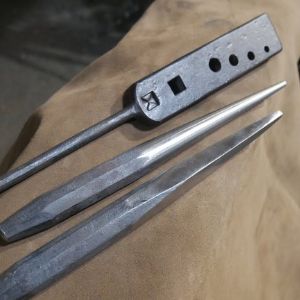
They’re steel plates with different holes drilled or punched into them. Bolster plates are used for shaping neat shoulders at the change of section in the metal.
Some kinds have square and round countersunk holes in them and allow countersunk-headed bolts to be made as for plowshares.
15. Tuning Forks
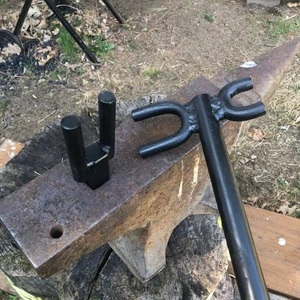
As indicated by the title, bending forks have many names, and can also be called a scrolling fork or a bending fork. They can have many different designs, but they all have 2+ upright poles that are at least the thickness of the metal being curved.
Their upright poles are used as a fulcrum point to apply pressure to the stock as you apply blows. This enables the blacksmith to bend the material to the desired shape quickly.
16. Anvil Devils
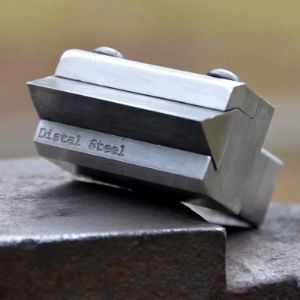
They’re cheap little tools that are super handy for producing v-shaped notches into stock. Anvil devils are usually made of heat-treated steel and are employed by blacksmiths and farriers alike. Most of them are made with a hardy shank, so they can be placed on practically any flat surface.
17. Monkey Tools
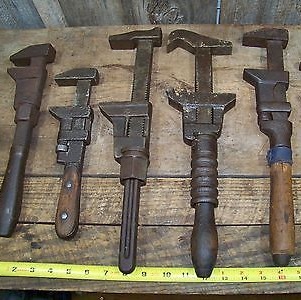
Monkey tools are used for shaping tenon shoulders on a rod. It’s a type of basic blacksmithing tools with a hole drilled into it; the hole is the size of the tenon that will be shouldering. They’re often used in conjunction with a vice.
Overall, the heated stock is clamped into the vice, and this tool is hammered onto the tenon. Generally, it’s a quite straightforward tool, easy to make, and easy to use. It can also be used to produce rivets.
18. Marking Tools
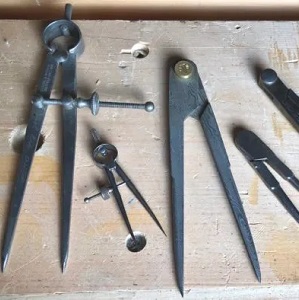
There are a variety of tools a smith can use to mark its workpiece. As with many things, there’s no best tool, and which one you’ll use will come down to personal preference and the project at hand.
Standard marking tools found in a smithy are:
- Scratching tools;
- Pens;
- Chalk;
- Angle blocks;
- Setup blocks;
- Straight edges;
- Sine bars;
- Edge/center finders;
- Gages.
19. Safety Glasses
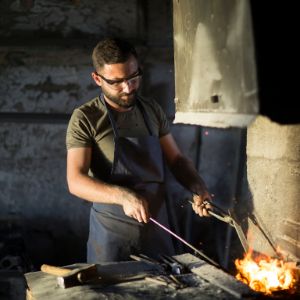
Safety glasses will defend you from small pieces of metal being thrown into the eyes, splashes of corrosive or hot liquids, and even gas from getting in contact with the eyes. Choose a pair of safety glasses with polycarbonate lenses that have UV protection. It’ll stop most of the malicious light radiation from reaching your eyes.
20. Gloves
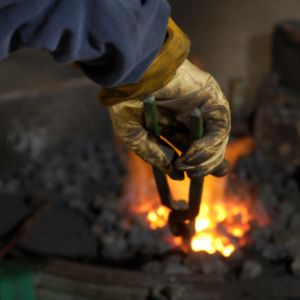
Some blacksmiths use no hand protection. Some use a glove on the tong/tool or hot metal holding hand. The tool or hot metal holding hand is typically closer to the hot work, and protection is useful.
Still, a glove on the hammer hand results in a loss of grip on the hammer handle. If gloves are used, it’s recommended that:
- Gloves made of cotton should be used;
- Gloves made of synthetic materials (cause allergy), except kevlar, shouldn’t be used;
If a glove becomes hot, it won’t be soaked in water to cool the glove. Cooling a glove in water can make steam in the glove. A glove is soaked with sweat can also create steam. So, it’s necessary to have dry gloves available.
21. Footwear
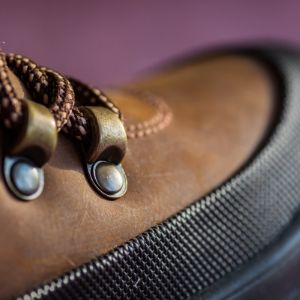
You must protect your feet from any red hot falling pieces of metal. Not only will a quality pair of boots prevent injuring the feet if you drop a massive piece of metal on them, but they also guard against the hot scale and little bits of metal that will be falling off your workpiece.
Steel boots are nice, but boots with a metatarsal guard are even better and defend the other small bones further up the feet.
22. Apron
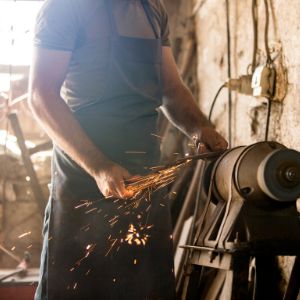
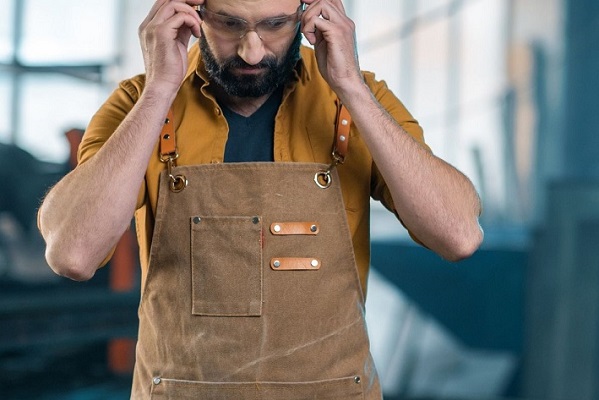
An apron is a classic piece of blacksmith’s attire. At first glance, it might seem unnecessary, but it’s actually beneficial for protecting your body and your shirts. If you’re doing any sort of grinding or belt work, it becomes a must. A welding apron will work also.
After all, it’s a useful extra layer of protection if trusty tools break, things shatter, or some other damages occur during the blacksmith process.
23. Wire/Block Brush
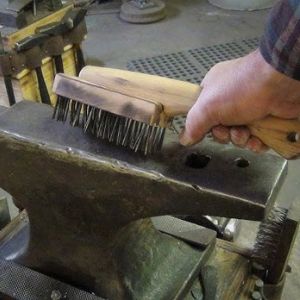
Blacksmiths use a wire or block brush to remove unnecessary contaminants accumulated on the surface of the metal object they are creating. A wire brush is often underestimated compared to other tools on the list, but it is actually a pretty necessary item.
While a wire brush is suitable for minor dirt and residue on your workpiece, a block brush addresses even the most stubborn scales and oxides on the metal’s surface. Besides, it can smoothen any irregularity and dent that affect the piece’s overall look.
24. Electric Buffers
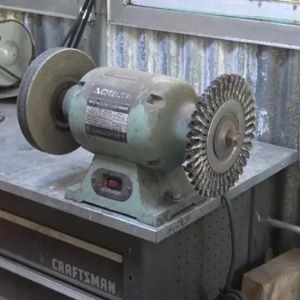
Electric buffers create a smooth, polished finish to a forging. They can remove any imperfection, making your workpiece look more professional and uniform. Although most forgings have a rustic appearance, electric buffers allow you to achieve a more contemporary and more polished design you will be proud of.
Go for buffers that don’t take up much space but deliver the utmost performance that restores your workpiece’s smooth appearance and shine.
25. Pyrometer
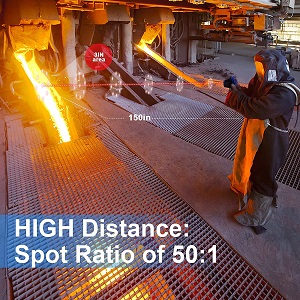
A pyrometer is one of those basic forging tools blacksmiths use for their daily operations. This device measures the surface’s temperature, giving you an idea of how the surface is. That way, you won’t have to rely on intuition or have direct contact with the surface.
Both professionals and beginners can benefit from a pyrometer, which significantly reduces the risk of injuries and burns. However, a pyrometer may be a huge investment for a beginner, which is why people tend to buy it once they’ve made progress in blacksmithing art.
Where to Buy Blacksmith Tools?
There’s a practically infinite variety of tools that a blacksmith can use, and one of the neat things about blacksmithing is that you can make your own tools too. Even tools for specialized blacksmith jobs like holding uniquely shaped pieces of metal and more. If you need a lot of the smaller blacksmiths equipment, you can get them from Amazon or Etsy.
Verdict
There’re a whole lot more tools that you might be tempted to purchase, or other blacksmiths might encourage you to shop, but you most likely won’t need them. However, it depends on what kinds of jobs you’ll most likely be doing.
Now that we’ve covered all blacksmithing tools for beginners and you’ve got some basic knowledge of how to use them, you’re ready to make your piece of art.
