

7 Simple Ways How to Cut Metal
There are 116 metal elements, and plenty of variations and each one requires different cutting methods. Because of this, many different techniques are available to cut metal stuff. Primarily when you begin cutting any metal profiles, you will need to take some protection measure. Because cut ends will be harsh and have razor-sharp burrs, painful to take off. So, you should wear safety gloves, glasses and overalls during the cutting process. When cutting metal, you have several options on how to perform this action and a large assortment of tools. The metals DIYers are commonly using are steel, iron, aluminum, copper, and brass. The most efficient tools of how to cut metal are the cut-off wheel and grinding disc. We will show you 7 simple ways in a few steps how to cut metal.
Hacksaw Cutting
Step #1 Measure and Mark Measure and point metal to be cut. Step #2 Choose the Right Blade Pick the right blade for the metal you’re going to cut. Naturally, blades for thicker material such as metal have a smaller teeth than blades for thinner material as PVC or wood. Blades of hacksaw only cut in one direction. Don't cut in both directions, by dragging down on the blade, because you can make breakage blade with that movements. Step #3 Prepare Material to be Cut Tight the material to be cut, if you don’t have a vice, fix the metal to the edge of a table. Step #4 Use a Safety Glasses Cut the metal with straight strokes and small pressure vs. metal. Step #5 Finishing the Process In the end, polish the sharp of an edge by deburring, sanding or another process. Step #6 Cleaning Clean up or vacuum any scarf and remove tools.How to Cut Sheet Metal with a Tin Snips
Step #1 Pick a Snips Always choose a proper snip for the project you want to finalize. Right-hand tin snips are more used than the left-hand tin snips. Don’t worry, if you are a left-hand, cranked tin snip are perfect for you. This is the simplest way how to cut sheet metal. Step #2 Put Metal in the Blades To start cutting, wide the blades as much possible as you can, and put your sheet metal right into their grip, where two blades meet. This will make the process simplified. Step #3 Snips Position The fine side of the inner blade must be parallel with the sheet metal, or the cut will be slightly curved.Step #4 Hold Snips Straight Up Hold the tin snips straight up as you cut, to escape damaging them. If the tin snips are twisting or turned horizontally during the cutting, the connecting screw will spread out, and the tin snips will be unworkable. Step #5 Begin to Cutting Grip the handles to begin cutting through the metal. Make sure, that the jaw isn’t completely closed while cutting or the blade’s tip may cause holes on the metal. Keep the blades in touch with metal. Slowly and softly move the tool along as you cut to avoid damage to the sheet metal edge. Always dragging the tin snips away from the material in between cuts, which will produce your sheet metal dimples and sharper cut line. Step #6 Managing with the Waste Remove your waste material out of the way during the project.
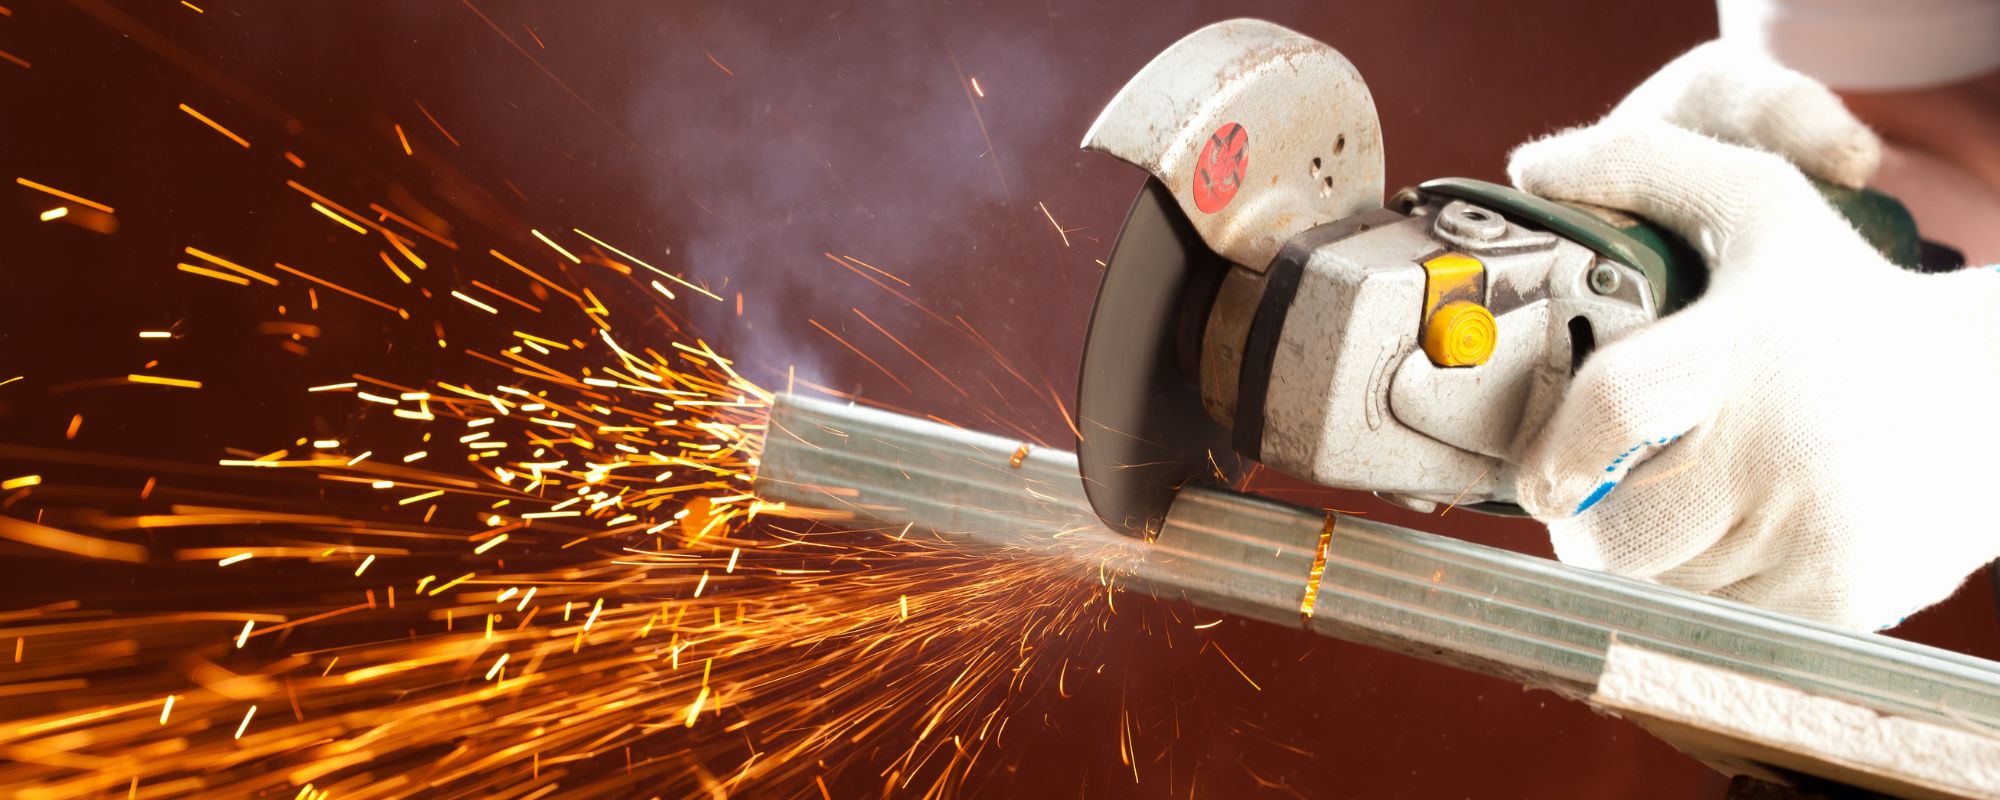
Angle Grinder Cutting Tool
Step #1 Pick out the Proper Grinder for your Project For the more extensive job use the electric grinder because they are more strongly and cover a full range of the material. For the DIYer’s job, is best to use a pneumatic grinder, it's easier to do with it in a smaller workshop. Step #2 Choose the Suitable Discs If you need to grinding metal use the grinding discs. For finishing work use the polishing pads and sanding discs. If want to cut pipe, steel or masonry, you need a cutting disc. Step #3 Instructions Pay attention to the instructions from the manufacturer before using your grinder.Step #4 Safety at Work Firmly fix your work on a secured surface and check that the guard is well secured. Step #5 Grinder Handling Keep the grinder with a solid grip against the body of your work instead of on the edge it. Step #6 Grinding Finishing Run the grinder over the body of your material in the direction of the handle to escape throwing back and the disc slipping which may damage your work and put you at risk. When you finished with grinding, pull up the grinder off the surface area gently and smoothly.
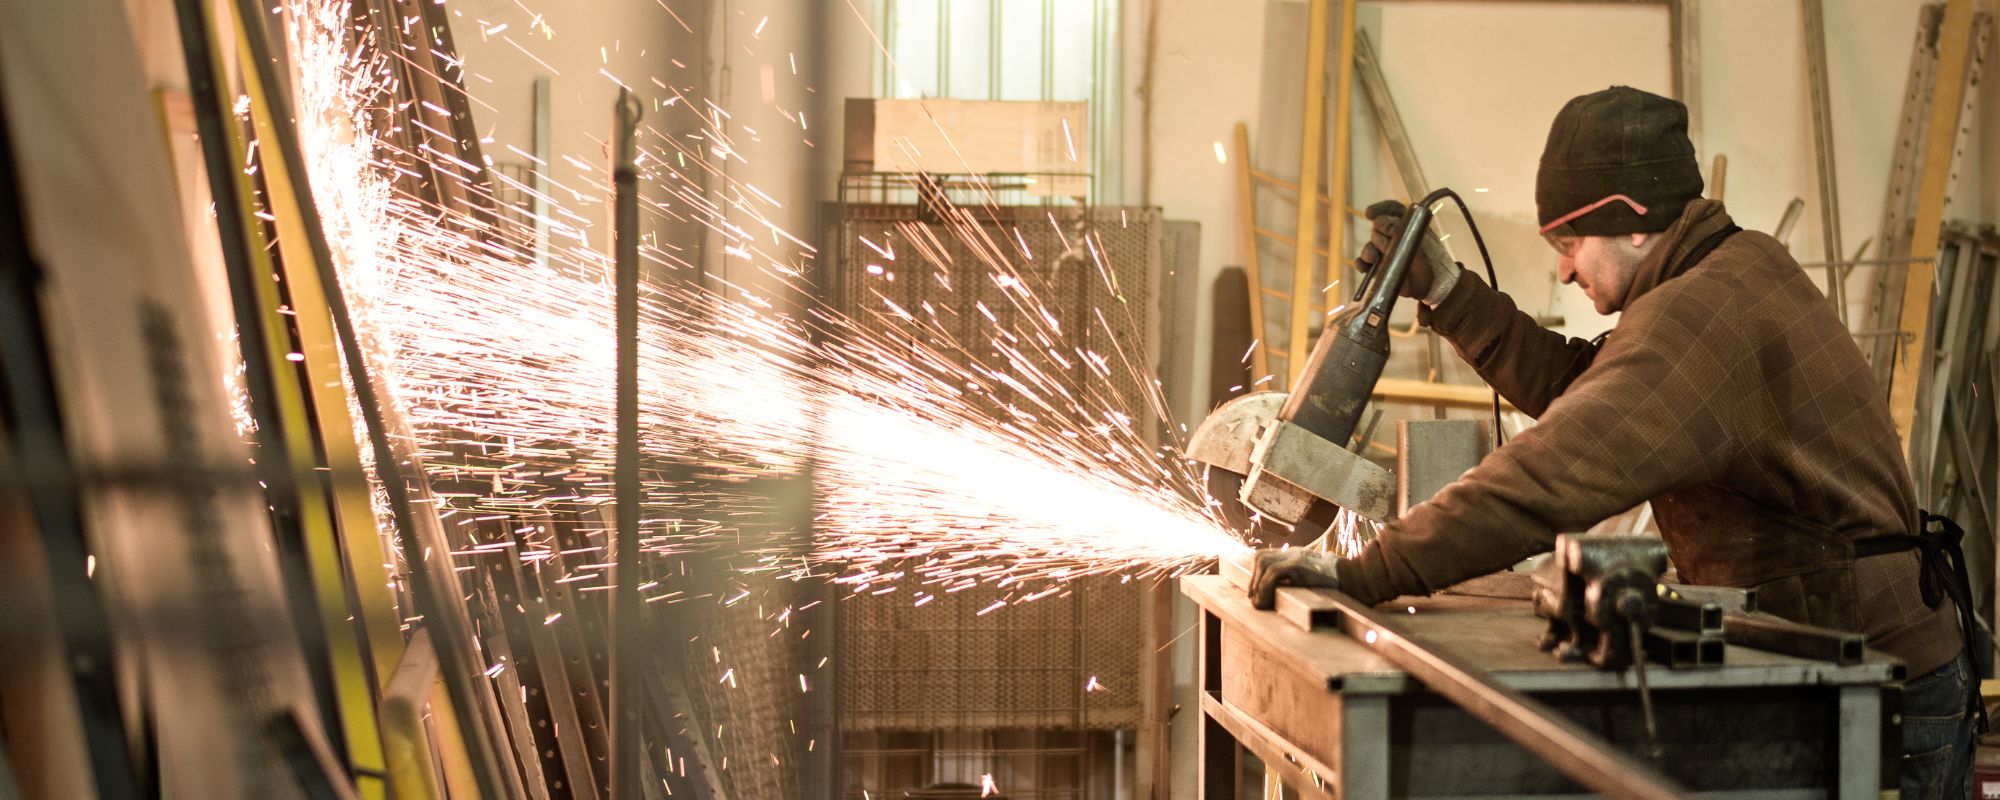
Chop Saw Cutting Tools
Step #1 Check out the Tool Condition Find out your saw is in good shape and able of cutting the metal you are using. A 10 inches saw will effectively cut through steel about 1.25 inches thick with a proper blade and backup. Inspect the clamp base, cable, switch and guards condition. Step #2 Suitable Power Providing These saws require 15 amps minimum at 120 volts, so you’ll not want to use one with a small measure extension cable. You should also need a ground fault protection with interrupted circuit when cutting out-of-doors where an electrical shot is possible. Step #3 Select a Right Blade for the Metal Slimmer abrasive blades cut fastest. Purchase a quality blade, if you want the best result.Step #4 Safety Equipment Protecting These saws produce dirt, sparkles, and wastes, so protect your eyes with a face shield. You also need rugged long trousers, shirt with sleeves and work boots for additional protection.Step# 5 Position of the Saw When you’re cutting flat rod, fixed the material horizontally in the cramp, so the cut is through a slight ledge the entire way. It’s difficult to clean off the blade when it has to cut over fine work. We will show you several ways how to use a chap saw, on a different occasion:
- For angle metal, fix it on the two ends, to prevent the flat cut through.
- If you place the chop saw head on concrete, put a dank plywood, a little bit of iron and cement sheet. That will hold back the particular sparkles remaining a permanent spot on a block of concrete.
- Plenty of times with the chap saw you would need to work outside because of the weight and length of steel you want to cut. Set something solid and strong beneath the saw and use shims to support the material.
- Secure the windows and walls, because sparkles and junk are running out high speeds on saw backside.
Step #6 Test the Process Take a square to check that the front of the disk is square of the material, in the situation when the ground is inclined, or your shims are false. Don’t worry if the shims to the right are a bit low. This will warrant the cut to open little as you cut. Never position shims upraised or even matched and don’t put on a bench in that case. During your cut, the material will ruin the saw in the middle. Step #7 Make Sure the Blades are Clean After a while, metal and leftover part jump in to the inside of the steel guard. You'll notice it when you're replacing the disc. Unplug chap saw and use metal brush to remove all metal waste from the guard. Step #8 Marking your Cuts To have a precisely cut, mark the metal with a permanent pencil. Put in the position with the clamp moving middle low. If your mark is a hardly visible, you can set measuring tape on the end of the steel and push it under the disc. Turn the disc down, practically to the tape and lay down the face of the disc to the tape. View down the area of the disc, that you're going to cut. If the cut that you search is one the right side on the disc, you should look over that side of the blade. Step #9 Take Care of the Blade Wasting If you’re running it a bit strong and you see the dirt, pull back, because you're wasting the blade. What you should see is plenty of a lightly sparkles, get back and make sure that revs are not much less compared to free idle speed.
How to Cut Sheet Metal with a Jigsaw
Preparation Use plywood under working piece to make sure to reduce vibration while cutting. Step #1 Clamp Working Surface First, bend together the sheet metal and the plywood to workbench. Step #2 Line the Sheet metal On the top line your work surface, tag your line for cutting. Step #3 Jigsaw Position Lever your jigsaw blade with a cutting layer and lay down the front of the shoe on the ends of material.Step #4 Cutting Operation Choose a low speed and start your jigsaw. When the blade produces top speed move the tool slowly along the cutting line. Carry on cutting till you come to the top of your marked line. Step #5 Edges Cleaning You will see a burr across the edge of the sheet metal. It's best to use oxide aluminum sandpaper to remove any irregularities and have a clean finish.
How to Cut Metal Roofing
Step #1 Preparation for Work First, you must set the corrugated roof sheet on a smooth, firm surface that is clean and secure. Why? Because in this way, you prevent an accident and stops the metal sliding. Step #2 Roof Measuring Second, measure the width and length of required metal roof using a measuring tape. Later on, you may use the square combination for precise measurements, double-check that the vertical line of the roof is line up to your awnings. This is the main and a key part of cutting metal roofing because once the material is out of the line the rest of the material is a wrong position too.Step #3 Mark the Metal Use the marker to tag a spot or set a line in which you cut it. Check that you have the right numbers of the measuring and underlining the spots or else you will damage the entire roof. Step #4 Cutting Tools Supply yourself with the cutting tool such as tin snips and power shears. Keep in mind that the roof sheet is cover with a layer of zinc. A teeny scrape on its surface will change the metal into corrosion and reduce the strength of your material. It’s necessary to stay concentrated and cautious during the cutting. A small error will devastate and damage your sheet forever. Step #5 The Cutting Style Gently move the tool and progressively pressing to the panel. It may be not so difficult as it looks, but once in a while your power shells will stop, when this occurs, assure not to use strength and push out the device further to the panel. Preferably, guide to a little different angle and carefully run the device ahead, softly moving it down to cut through. You should be very careful when cutting metal roofing. You can’t hurry, or then the entire panel will be damaged. If you’re calm enough, you will get the roof that perfectly cut through.
How to Cut Corrugated Sheet Metal
Step #1 Set the Metal Put down the corrugated sheet metal on a table or working surface. Your work space must be wide, so that you can work regularly and safely. Step #2 Measuring the Sheet Metal Spread out measuring tape over the material and measure the length for cutting. Choose a strong marker, line the sheet and use a ruler to connect spots if you’re going to cut in a flat line. Step #3 Grinder Using Set up 5-inch cutting wheel to the clutch grinder. Make sure it's mounted correctly and safely. Then, connect grinder into power and start it on. Run the grinder's full speed.Step #4 Sheet Metal Cutting Increasingly grinder speed, enforce pressure on the spinning wheel ahead of the sheet where you mark a line. Follow the lines you mark on the sheet metal. Don't try to apply intense pressure to push the grinder forward, because this can effect on grinder bouncing. Ensure you carry the grinder strongly and double-check if the cutting wheel works straight. If you turn-over it, the wheel can smash, and remains can hurt you. Replace the cutting wheel if it’s smaller and can’t cut the corrugated sheet. Step #5 Take off the Burrs After cutting, put down the grinder. Take off the burrs from the edge of the metal using deburring wheels. Your corrugated sheet metal is ready for use.