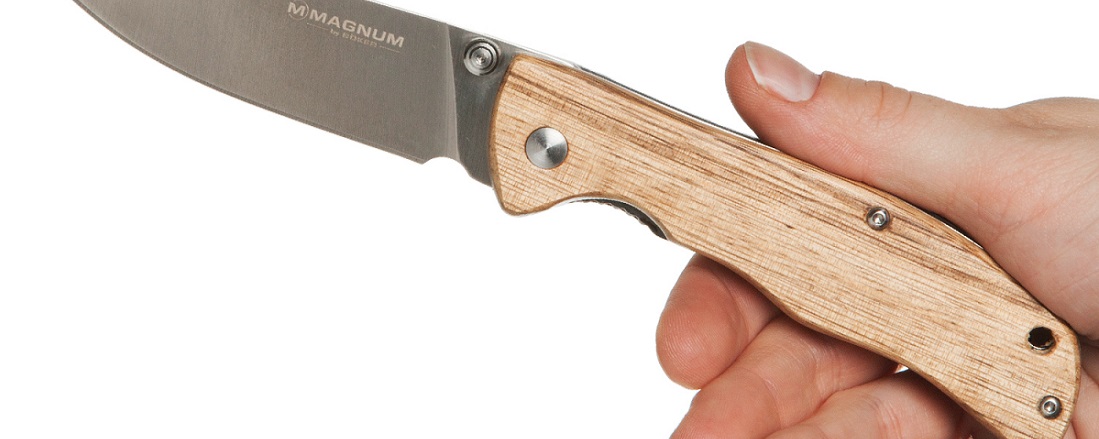
How to Make a Knife Handle Using 3 Different Materials – G 10, Wood and Stag
When making any knife, no matter of type or size, it’s crucial to make one with a comfy handle that won’t flip or spin around in hand. The blades are all the same, but it’s the design of handles that makes a difference. A proper knife handle is one that feels snugly and secure to the palm. It shouldn’t need strong effort to hold, and it shouldn’t feel slippery when wet.
Ensuring that the knife handle is adequate and safe to use is integral to the success of any knife making newbies. Without good concentration and attention applied to the handle of a blade, it could result in unwanted movement and damage the overall effect of the knife itself.
Also, the poor grip can lead to blistering of the hands. There is some beauty to the DIY knife handle. The project of making knife handles may take a while, but it’s smooth sailing once you figure out what to do. We’ll show you the 3 techniques with different materials on how to make a knife handle.
G-10 Knife Handle
G-10 is a laminate made of fiberglass cloth layers, and it’s an incredibly strong material. Therefore, unlike more traditional knife handle materials like wood, it will not break, crack, chip, or scratch easily. For this task, you’ll need:
- bare knife,
- G-10 scales,
- hand drill,
- drill press,
- belts for sanding,
- epoxy,
- brass pins,
- rasp,
- black marker,
- and sandpaper.
Just follow the next few steps on how to make G-10 knife handle.
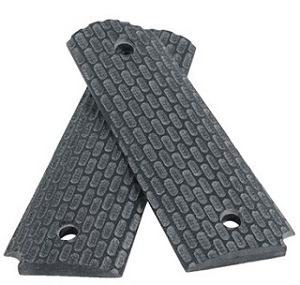
Step #1 Set Up the Scales
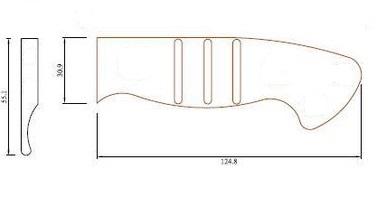
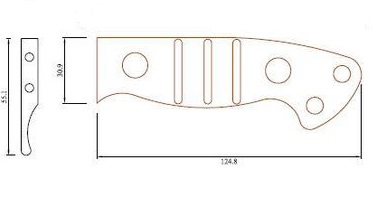
First, draw the wanted handle design on the paper.
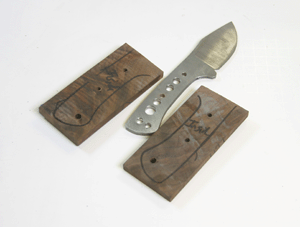
Then, transfer paper with handle design on the scales, and trace it and mark with the black magic marker, because G-10 will not absorb the ink.
Step #2 Scribe the Holes
Scribe the holes you want to drill on one side of the pair of scales.
To ensure that holes will line up, make a light mark with a hand drill and finish in a drill press to ensure the holes are square and true.
Step #3 Sanding, Drilling, and Gluing
Use the drill press and drill the holes in one scale, place a drop of epoxy on the flattened inside surface, and adhesive the 2 scales together. It ensures the scales will stay ideally matched up as drill holes and do the rough shaping.
Maybe the handle scales look flat, but in fact, they’re not. A light sanding will flatten them and rough up the surface for a better bond.
Step #4 Rough Shaping
Outline the front of the scales with the file while they’re attached by the light epoxy bond. It’s challenging to clean up the front once it is connected to the blade without scuffing and scratching the edge. Profiling ensures that the faces of the scales will match up just like the holes do.
Step #5 Place the Blade Edge
If the holes are drilled, and the rough profiling is finished, just place the edge of the knife blade on the seam among the scales. A light tap will tear apart them quickly, and you’re ready for the next step.
Step #6 Tracing, Cutting, and Gluing
Trace the handle shape onto the material, cut to a rough shape and then glue it with epoxy to the inside of the scales. If the material is dried out, clean up the edges and drill through to match the existing pinholes. A hand drill is excellent for this as the holes in the scales will lead the bit.
Step #7 Compiling
Now handle is ready for assembling. For pins use two simple brass bolts. The advantage is that you can apply the pins themselves to clamp the scales in place by simply adding a nut and putting it down after using epoxy.
Step #8 Flushing of the Pins
After the epoxy dries, use an angle grinder, file, or hacksaw and clean off the head of the bolt, the extra length of bolt body on the nut side, and pins will be flush.
Step #9 Finishing

Clean up knife handle and shape it to fit your hand. Do it slowly and inspect the fit often until it fits like an extension of the hand. Work through sandpaper grits to whatever final finish you want, and DIY G-10 homemade knife handle is ready for use.
Wooden Knife Handle

Wooden knife handles are with us since the invention of the knife. Wood is organic, warm for the touch, comfy to hold, and long-lasting material also. Wood is everywhere and therefore is an excellent solution for making a knife handle. For this DIY project, you’ll require:
- knife,
- scales,
- pen,
- tape,
- sandpaper,
- epoxy,
- drill,
- clamp,
- hacksaw,
- pins.
Read the following steps not only how to make a custom knife handle.
Step #1 Taping the Scales
Tape wood scales together with solid double-sided tape. You want them to feel and move like a single unit. This is the crucial part of the knife handle-making process since they must be really stuck together.
Step #2 Marking of the Scales
Bring a blank sheet of paper and draw a sketch of the wanted knife handle design. Cut the paper with scissors to make a knife handle template. Put knife handle pattern on the scale and trace it with a pen. Repeat the same process with another scale.
Step #3 Tracing the Handle Slabs
Use a thin marker and trace the original handle slabs.
Step #4 Shaping
With the pattern traced out, start to cut wood with a hand saw. A hand saw is perfect for this kind of task since it is slow and repetitive work. Be patient, and cut to the marked line, not on or under the line.
Step #5 Smoothing
As soon as you make the general knife handle shape, smooth it with a belt sander paper by tracing the line.
Step #6 Drilling
After the shaping process, just mark and drill the holes for the bolts. After drilling, sand again the wood. Now, sand it with sandpaper to get a subtle look and feel among fingers.
Step #7 Pop up the Wood Scales
Very carefully separate the 2 wood scales. Avoid leveraging them, as the wood is probably pretty thin and insert a bare knife cautiously.
Step #8 Gluing
With a little bit of wood glue on the back of the scales, set them in place. Use a clamp to hold them there for 24 hours.
Step #9 Final Stage
Remove the handle from the clamp carefully. And clean the handle with paste wax or other finishing product if the wood will accept it. If not, then polish it up and enjoy. Our advice is to use hardwood since it’s the best wood for knife handles.
Stag Knife Handle
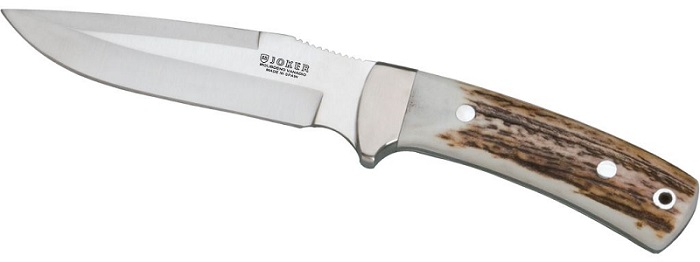
Stag handles are made out of naturally removed deer horn, which makes these handles extraordinary and quite expensive. Anyhow, the significant advantages of the stag is that the rough texture makes a sturdy grip and the shape of the stag gives it natural curves.
When exposed to open flame, stag takes on that slightly burnt look. Very stylish material for small knives. For crafting this popular knife handle you’ll require items such as deer antler, knife with a round tang, vise, hacksaw, pot of boiling water, and protective gloves and you’ll learn how to put a handle on a knife.
Step #1 Preparing the Deer Horn
First, you need to decide is where to cut the horn to make it flush. Then cut the stag with a hacksaw and smooth any sharp edges with a file.
Step #2 Boiling
Place a large bowl of water on the oven and boiling it. Then place the stag into the bowl and leave it for an hour. Boiling is softening the horn. Stag absorbs the water, and the pithy inside becomes pliable and soft. Once it has been in the boiling water for long enough pull out with tongs and wrap in a towel or a piece of old cloth.
Step #3 Pushing the Tang Through the Stag
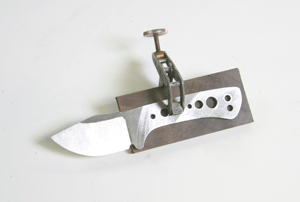
Put the knife blade into a vise. Take some cloth or tape to make sure it isn’t marked by the clamp teeth. Always wrap the blade in some tape, so no accidents happen.
Then, line-up the end of the horn with the tang and push the stag onto the tang. Use a knife with a round tang in order to twist slightly and force the stag onto the tang. If your tang is straight-edged, then ensure you don’t bend or wiggle side to side as the pithy inside will be ruined. Once you have finished the pushing process, leave the stag to dry for 24 hours.
Step #4 Testing
Once the drying is ended, you’ll see that the stag core has become hard again and has gripped the tang. Try to turn or move the blade, and you’ll feel that it is adequately stuck properly. In case the handle is loose and moves around then take tang out of the stag and glue it.

