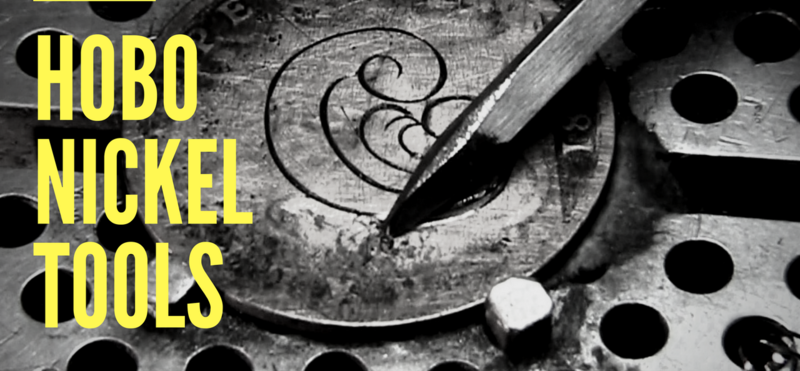
Hobo Nickel Tools
Like with any art, getting started with hobo coin art can be both expensive and quite cheap. There are a lot of professional tools that can be rather costly (thousands of dollars even!), but there are also a lot of cheap, DIY options below $20 in total that would be quite enough in case you are just taking up this fun hobby. Hundreds let alone thousands of dollars are too much specially if you are not sure if you’re going to stick with the hobby and you’re just interested to see how it works.
Therefore, we’ve decided to present both DIY and more expensive options of some of the basic tools for hobo coin art in this chapter. We must ask you to keep in mind that there are a lot of variations, combinations and options or the tools, and this chapter is supposed to give you the basic idea about what you’ll need. For higher-level tools and advices, we suggest you contact hobo coin pro artists or join the Original Hobo Nickel Society.
Securing the hobo coin is important before you begin. You’ll need something to keep it in place to be able to do as precise work as possible, to avoid wobbling and damaging your piece.
One of the cheap DIY ways to go is to get a wooden dowel or a can with flat top, some hot glue and a vise. You can place the coin on top of the dowel or a can and prevent it from moving with the help of hot glue. And don’t worry, the glue will come off the coin easily, and you can reheat it and use it more than once.
If you are using a wooden dowel, you will also need a vise, as holding the dowel in one hand while working with another is inconvenient and not recommendable. There’s a good chance you already have a vise in your garage and if not, you can get one for about $20 or less. And in case you want to get a bit craftier, you can check out this awesome YouTube video on how to make your own hobo nickel carving holder.
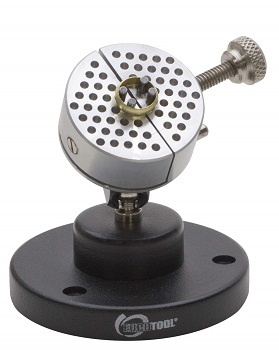
In case you are looking for a more professional equipment, then engraving vises or ball vises are thing you are looking for. However, note that there are all kinds of ball vises out there and not all are suitable for high-end coin work, so you better go through some reviews in case you are planning to invest a lot of money.
As for the prices, you can get different universal work holders online for under $50, or you can get more high-quality vises, like the GRS MicroBlock Ball Vise. Another option would to go shop from some of the specialized websites that offer neat vises such as this Multi-Coin Vise.
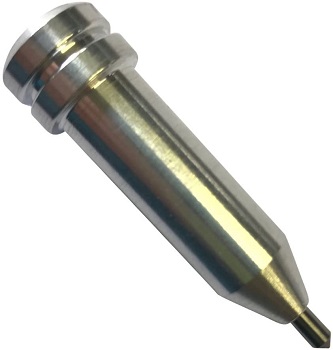
The art has come a long way since hobo coins were first carved using a knife or a nail. There are a lot of sophisticated tools on the market today – different gravers, mechanically assisted engraving machines, chisels, but it doesn’t mean you cannot start with hard-core DIY tools. For example, regular thick sawing needle can be placed into the graver holder that can be purchased for under $10. Or you can grind down the tip of your old screwdriver to make a graver.
For those hobo coin beginner artists who are prepared to do a little shopping, the cheapest option would be concrete nails (pound is about $5), but you can also use steel, old files or premade gravers. And for those who are prepared to do more than a little shopping, get yourself the following gravers as you’ll do some fine work with them: onglette graver, with one side that almost looks like a blade, used for making fine lines, and a couple of flats and a couple of rounds used for removing more material and for sculpting the shape of the design.
And if you want to get a more professional coin carving kit without having to think about what you need, you can consider getting one of these basic carving kits that can be found on similar specialized websites on Google.
Just in case you are wondering, Super Sayajins of Level 3, like Shaun Hughes, use power rotary tools and diamond grinding burs. Easy, right?
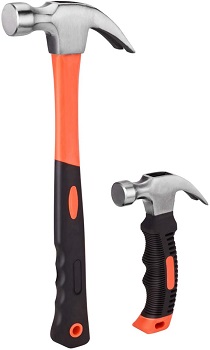
Hammers are necessary in case you want to use the good old hammer and chisel technique and remove a bit more metal, quicker. Perhaps it would be wiser not to use the technique if you are a complete beginner, as holding the chisel in one hand and hitting it with a hammer with the other requires some control and precision.
Practice bit to see which technique suits you best. You probably have a small hammer (available under $10) in your shop already, but if not, there’s a way around it, too! Just use a wooden block to tap on the engraver to power it and engrave away!
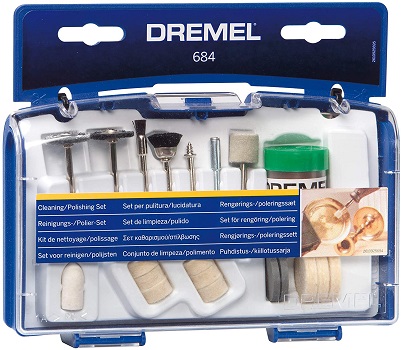
While creating hobo coin art, you will also need some sort of polishing abrasives. Preparing the hobo coin surface for carving can be done with sandpaper or super stones than come in various grits ranging from 150 to over a thousand. However, using these can be time-consuming and requires a lot of patience. Faster option would be to use some sort of a hand rotary tool and mounted rubber abrasives, and this is something that we’ll cover in the following chapter.
You’ll also need small, thin polishing stones (wet or dry, with water or oil) or small piece of sandpaper to remove scratches made by carving. Make sure the grit is extra fine and you apply a light pressure, as too much pressure can cause more scratches.


